
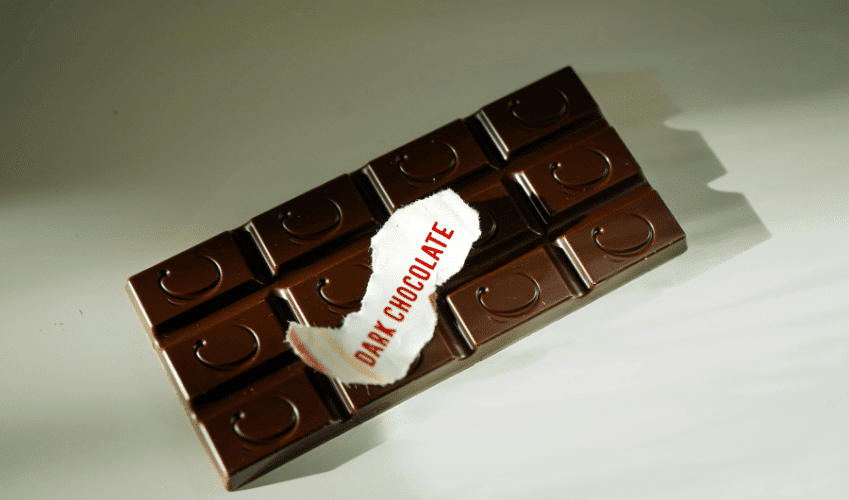
Chocolate is shiny when it’s properly tempered. Tempering lines up the cocoa butter into stable Form V crystals that reflect light evenly, set firmly, and release cleanly from a polished mold. When those crystals are unstable, or when bloom forms, the chocolate looks dull, grey, or streaky. The usual reasons? Poor tempering, slow or uneven cooling, moisture, or temperature swings.
That’s the short answer. But if you’ve ever pulled a tray of chocolate from a mold and wondered why some pieces gleam while others look chalky, there’s a lot more worth knowing.
I’ve spent years around chocolate production equipment, watching how small changes in temperature and handling decide whether a product looks premium or ends up in the reject bin. In this guide, I’ll walk you through the science of shine, show you how to read a chocolate surface like a diagnostic chart, and explain how to fix dull results for good.
One thing to keep in mind: in commercial manufacturing, consistent gloss never comes from luck. It comes from controlled tempering and cooling, repeated batch after batch.
Why Properly Tempered Chocolate Looks Shiny
Shine isn’t just surface polish. It’s a signal of what’s happening inside the chocolate.
When light hits a smooth, well-organized surface, it bounces back evenly. That’s the mirror effect you see on a quality truffle or bar. A glossy finish indicates that the fat crystals beneath are tight, uniform, and stable.
Four things have to come together to get that look:
- Stable Form V cocoa butter crystals that set into a tight, even structure
- A smooth, polished contact surface, like a clean polycarbonate mold or transfer sheet
- Even controlled cooling that lets the right crystals form
- A clean snap and slight mold shrinkage, which means the chocolate pulled away from the mold the way it should
Miss any one of these, and the shine starts to fade.
Here’s something I’ve seen on production floors more times than I can count: even a degree or two of temperature drift changes the gloss and the snap. That’s why producers don’t eyeball it. A reliable chocolate tempering machine maintains a steady temperature curve so every batch looks the same.
Why Chocolate Turns Dull, Grey, or White
The root cause is almost always the same: unstable crystallization scatters light instead of reflecting it. When the fat sets in a messy, disorganized way, the surface looks matte or grey instead of glossy.
A few common culprits push chocolate in that direction:
- Untempered or poorly tempered chocolate, where the fat never organizes into stable crystals
- Fat bloom and sugar bloom, which leave white or grey marks on the surface
- Moisture and humidity exposure, often from storage or condensation
- Slow or uneven cooling, which lets large, dull crystals grow
The key takeaway: a dull surface is a symptom, not the disease. The real problem is usually crystal instability or bloom. Once you know that, you stop guessing and start fixing the actual cause.
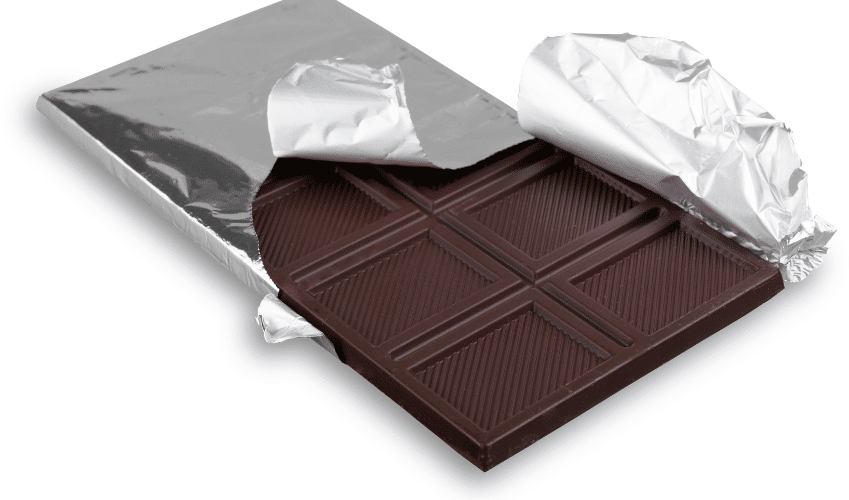
The Role of Cocoa Butter Crystals
Cocoa butter is the main fat in chocolate, and it decides whether your product is hard or soft, shiny or dull, snappy or crumbly.
Here’s the interesting part. Cocoa butter is polymorphic, which means it can solidify into six different crystal forms, labeled Types I through VI. Each one has its own melting point and its own personality. Some are weak and melt at the touch of a finger. Others are stable and strong.
Why Form V Is the Goal
Form V (Type 5) is the one you want. It’s the crystal structure behind a mirror finish, a sharp snap, and good shelf life. When Form V dominates, the chocolate sets firm, looks glossy, and resists bloom longer.
The unstable forms (Types I through IV) are trouble. They melt easily, feel soft, and look dull because they don’t reflect light cleanly. Form VI is a different problem. It’s actually very stable, but it forms slowly over time and shows up as bloom on older chocolate.
So the whole goal of tempering is simple: get as much Form V as possible and get rid of the rest. Stable crystals reflect light uniformly. Unstable ones scatter it.
How Tempering Creates Shine
Tempering is the controlled process of heating and cooling chocolate to build those stable Form V crystals. It sounds technical, but the logic is straightforward.
The Three Tempering Stages
- Melt. Heat the chocolate fully to melt any remaining crystals and start with a clean slate.
- Cool. Bring the temperature down to seed new, stable crystals.
- Reheat. Warm it slightly to melt away the unstable forms, leaving Form V in charge.
That last step is the one people skip, and it’s the one that makes or breaks the result.
What Tempering Looks Like in Practice
Well-tempered chocolate behaves in ways you can see and feel. It shrinks a little as it sets, which helps it release cleanly from the mold. It snaps when you break it. And it has that gloss everyone wants.
Untempered chocolate does the opposite. It stays soft and sticky, takes forever to set, and dries to a dull, streaky finish because the fat never got organized.
At scale, the real challenge isn’t tempering one batch. It’s tempering the hundredth batch exactly like the first. That’s why manufacturers automate the heat-and-cool curve with a chocolate tempering machine instead of relying on a thermometer and a marble slab. Consistency is everything when you’re shipping thousands of units.
How to Diagnose Chocolate Problems by Appearance
This is the part most articles skip, and it’s the most useful. Once you can read a chocolate surface, you can trace any problem back to its cause. Think of it like a doctor reading symptoms.
Glossy and Firm With a Clean Snap
This is the win. Properly tempered, well-cooled chocolate. If you’re getting this, your temperature control and cooling are dialed in. Don’t change a thing.
Dull but Smooth
The surface is even, just not shiny. Usually, this means incomplete tempering, too few stable crystals, or a mold that’s lost its polish. Check your reheat step first, then inspect your molds.
White or Grey Streaks
This is fat bloom. Liquid fat migrated to the surface and recrystallized into those soft, marbled streaks. It points to warm storage, temperature swings, or tempering that didn’t take.
Powdery White Spots or Sandy Crust
This is sugar bloom. Moisture landed on the surface, dissolved the sugar, then evaporated, leaving a gritty crust behind. The usual suspect is condensation, often from a fridge.
Soft With No Snap
If the chocolate bends rather than breaks, its crystal structure is unstable. You missed your tempering temperatures somewhere, and Form V never took hold.
Cloudy or Foggy After Demolding
A hazy film right after release usually means condensation, cooling that ran too slow or too cold, or a mold that’s dirty or scratched. Clean the molds and check your cooling environment.
Fat Bloom vs. Sugar Bloom: What’s the Difference?
These two look similar at a glance, but they come from opposite problems. Telling them apart saves you from chasing the wrong fix.
Fat bloom comes from heat. Warm storage, temperature fluctuations, or poor tempering can cause liquid fat to rise to the surface and recrystallize. It appears as soft white or grey streaks and feels slightly greasy when rubbed.
Sugar bloom comes from moisture. Humidity or condensation dissolves the surface sugar, and when the water evaporates, it leaves behind dry sugar crystals. It looks like a dusty, sandy crust and feels gritty.
Here’s the practical trick: touch it. Greasy and soft mean fat bloom, so check your temperature and storage. Dry and sandy mean sugar bloom, so check your moisture and humidity. The feel tells you the story.
Other Factors That Affect Chocolate Shine
Tempering gets most of the attention, but a few outside factors quietly make or break your gloss.
Mold Surface and Finish
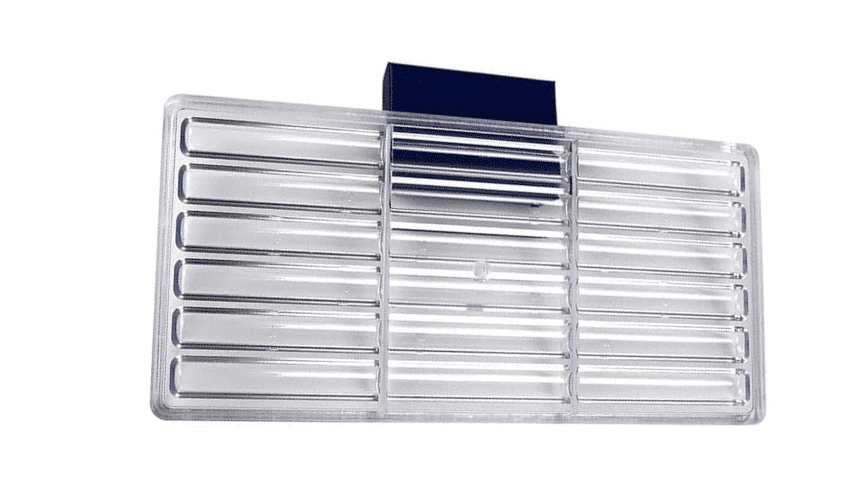
Your chocolate is only as shiny as the surface it sets against. Polished polycarbonate molds give you a high-gloss finish. Scratched, scuffed, or dirty molds transfer every flaw straight onto the chocolate. If your pieces look dull on the molded side, inspect the molds before you blame the temper.
Cooling Speed and Environment
Cooling matters more than people think. Cooling too slowly, and large, dull crystals have time to form. Cool too cold or in humid air, and you invite condensation that wrecks the surface.
On commercial lines, this is exactly why cooling occurs in controlled stages rather than a single cold blast. A chocolate cooling tunnel manages airflow and temperature across zones, so products firm up evenly without shocking the surface. That even cooling is a big part of why factory chocolate looks so clean.
Additives and Fat Content
Not all fats play nice with cocoa butter. Milk fat, vegetable oils, and the fats in compound coatings interfere with crystallization and dull the shine. That’s part of why milk chocolate is trickier to shine up than dark.
Enrobed products are especially sensitive here. A glossy coating depends on an even, well-tempered layer flowing over the product. A chocolate enrober lays down that consistent shell, but the chocolate still has to be tempered right going in.
Chocolate Type
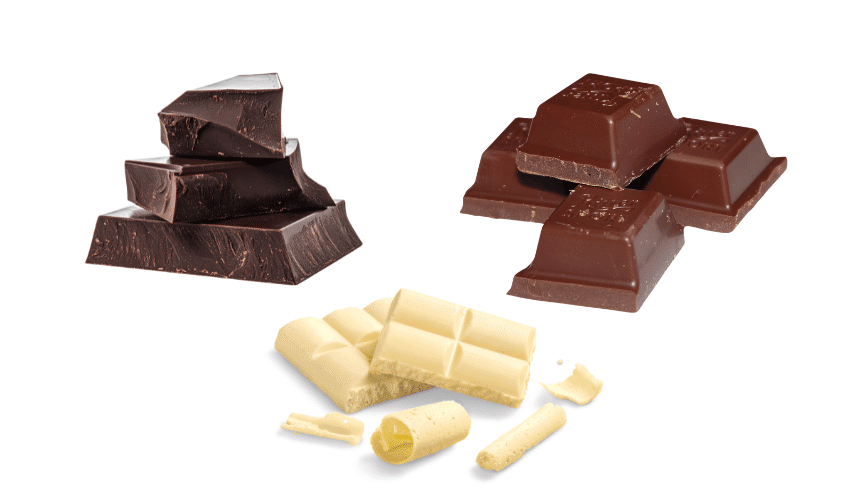
As a rule, dark chocolate looks shinier than milk or white. It has more cocoa solids and cleaner cocoa butter, so it tempers more predictably and reflects light better. Milk and white chocolate contain extra milk fat and sugar, which makes a mirror finish harder to achieve.
How to Keep Chocolate Shiny
Whether you’re working in a home kitchen or running a small production line, the same principles apply. Here’s a checklist that actually works:
- Use a digital thermometer to hit your melt, cool, and reheat temperatures precisely. Guessing is how shine dies.
- Try the seeding method. Stir tempered chocolate pieces into your melted batch to encourage stable crystal growth.
- Cool evenly. Avoid sudden cold or humid spots. Steady cooling beats fast cooling every time.
- Store it right. Keep finished chocolate at 60 to 68°F in a dry place.
- Never refrigerate uncovered chocolate. Condensation is the fastest road to sugar bloom. If you must refrigerate, seal it in an airtight container.
Get these habits down, and your gloss and shelf life both improve.
Best Chocolate Types for a Glossy Finish
The chocolate you start with sets your ceiling for shine.
First, know the difference between real chocolate and compound coating. Real chocolate uses cocoa butter as its fat. Compound coating swaps in palm or vegetable oil to skip the tempering step, but it never delivers the same deep gloss or clean snap.
For the best results, reach for high-quality couverture. It contains a higher percentage of cocoa butter, which tends to form Form V more reliably and produces a superior shine.
The bottom line stays the same throughout: professional gloss is the result of science and temperature control, not luck. Better chocolate makes it easier, but technique still does the heavy lifting.
FAQs
Why did my chocolate turn white after cooling?
That white film is blooming. If it’s streaky and greasy, it’s fat bloom caused by temperature swings or by untempered chocolate. If it’s dry and powdery, it’s sugar bloom from condensation, often after time in the fridge.
Why is my chocolate shiny on top but dull underneath?
The two sides are set against different surfaces. The molded side picks up the mold’s finish, while the air-exposed side cools differently. Uneven cooling or a scratched mold usually explains the mismatch.
Can you fix chocolate that has lost its shine?
Yes. Just melt it down and temper it again. Re-tempering erases the unstable crystals and rebuilds the Form V structure, restoring the gloss and snap.
Is dull or bloomed chocolate still safe to eat?
It’s perfectly safe. Bloom only affects the look, texture, and snap, not the safety. It just won’t taste or feel as good as a properly tempered piece.
Why does chocolate lose its shine after being in the fridge?
Cold storage causes condensation, and temperature swings between the fridge and room air trigger bloom. Moisture on the surface leads to sugar bloom, while the temperature shifts can cause fat bloom.
Does couverture chocolate shine more than compound chocolate?
Yes. Couverture uses real cocoa butter, which tempers into shiny Form V crystals. Compound chocolate uses substitute fats that don’t crystallize the same way, so it never reaches the same gloss.
Why did my chocolate lose its snap along with its shine?
Both come from the same source: stable Form V crystals. When tempering fails, and those crystals don’t form, you lose the gloss and the snap. Fixing the temper restores both.
Conclusion
Shine is a visible sign that the crystal structure inside your chocolate is stable and well-organized. When chocolate turns dull, grey, or white, the surface is telling you something went wrong with tempering, cooling, or moisture.
The real value here is learning to read that surface. Once you can spot the difference between fat bloom and sugar bloom, or between a tempering miss and a mold problem, you stop guessing and start fixing the actual cause.
For chocolate businesses, the lesson scales up. Consistent gloss across every single batch comes from controlled tempering and even cooling, repeated reliably. The principles are the same in a home kitchen and on a factory floor. The difference lies in the equipment that maintains those conditions.
If you’re chasing that glossy, snappy, bloom-free finish at scale, it’s worth exploring the tempering and cooling solutions built to deliver it batch after batch.