
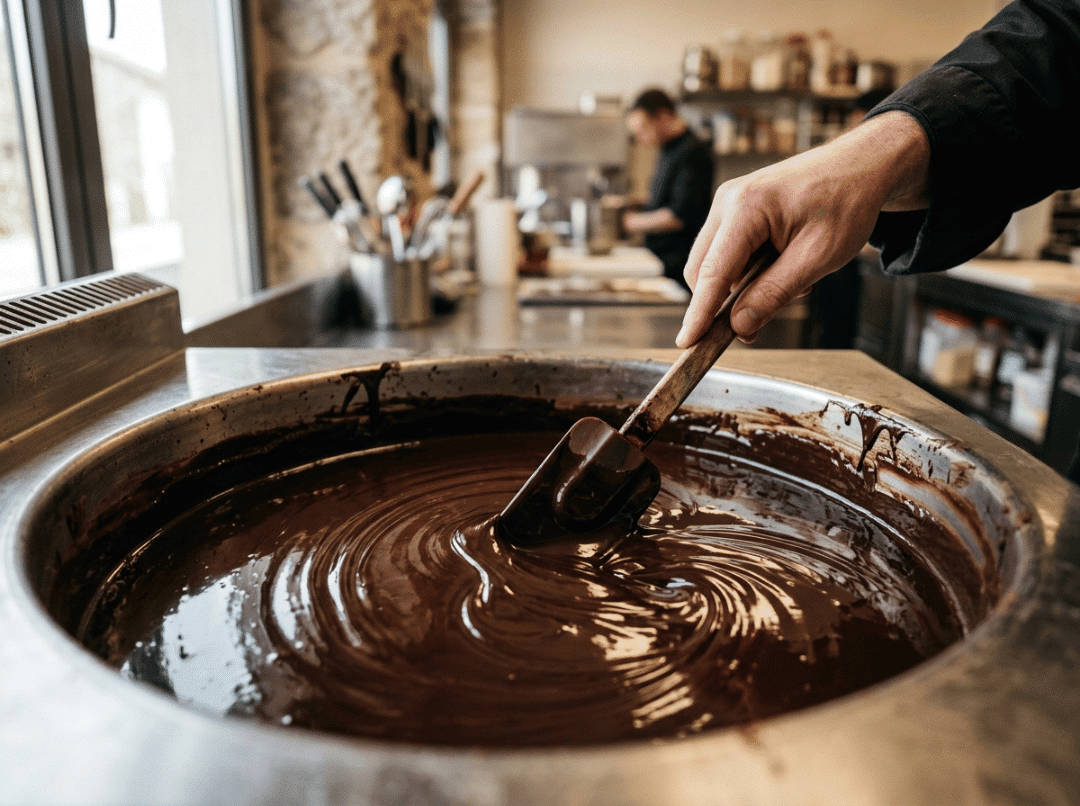
I’ve watched more chocolate get ruined at the melting stage than at any other point in production. It looks like the easy part, so people rush it. Then the trouble shows up later: dull surfaces, poor snap, a temper that won’t hold, a batch that blooms within days. Nine times out of ten, the fault traces straight back to how the chocolate was melted.
Getting it right comes down to a simple chain of decisions. Start with the chocolate type, because that sets your temperature ceiling. Move to batch size, because that points you toward a method. Then let your workflow decide the equipment. Dark, milk, and white each behave differently under heat. A 1 kg test batch and a 50 kg production run are not the same problem. And chocolate you melt and use immediately is a world away from chocolate you hold warm across a full shift.
Work through those decisions in order and melting stops being a gamble. The sections below follow that exact path.
What Temperature Should Chocolate Be Melted To?
The safe range depends entirely on what’s in the chocolate. Cocoa solids take heat well. Milk solids and sugar do not.
|
Chocolate Type |
Melting Range |
Why the Ceiling Matters |
|---|---|---|
|
Dark |
45–50°C (113–122°F) |
High cocoa fat and no milk solids tolerate more heat before quality drops |
|
Milk |
40–45°C (104–113°F) |
Milk solids scorch and turn grainy above this range |
|
White |
38–42°C (100–108°F) |
Highest sugar and milk content, the least heat-tolerant of the three |
Stay under the ceiling, and you keep texture, color, and flavor intact. Cross it, even for a moment, and you start caramelizing sugar and burning milk proteins in ways you can’t walk back.
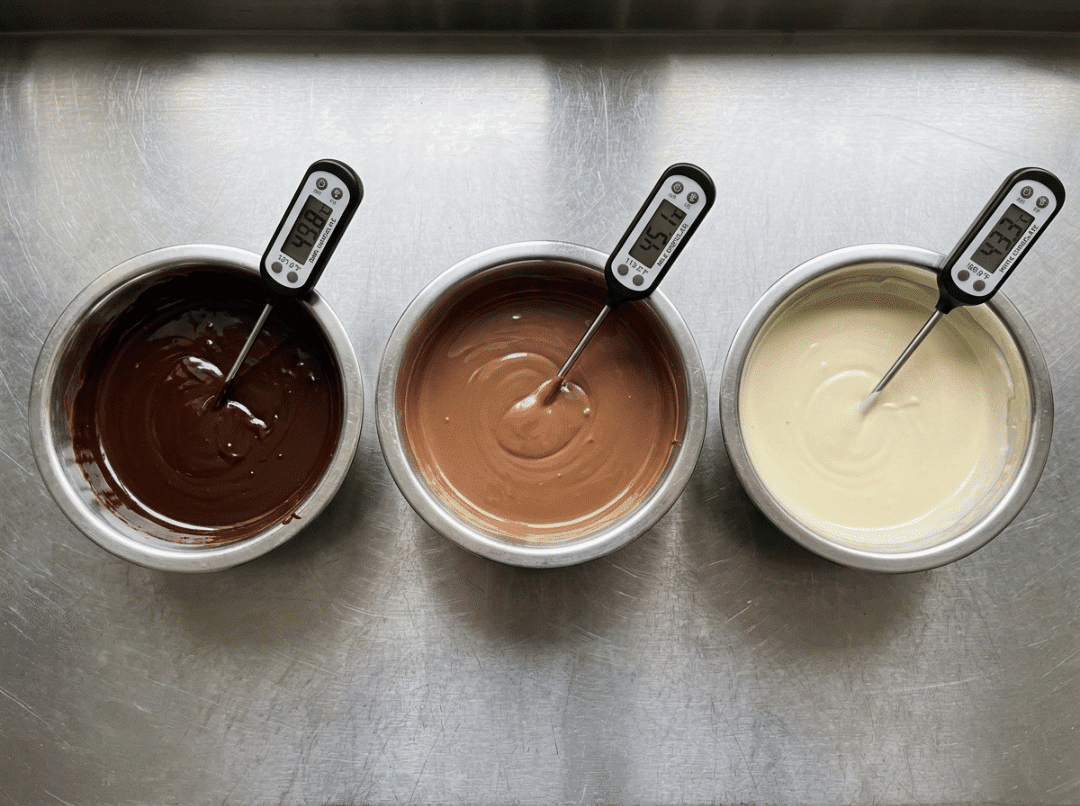
One thing I tell every operator early: these are melting ranges, not working temperatures. You melt to fully liquefy the mass, then bring it down for tempering or hold it steady for use. Mixing up those two numbers causes more spoiled batches than almost anything else on the floor.
Why Does White and Milk Chocolate Overheat First?
Milk and white chocolate carry milk solids and heavier sugar loads than dark. Both scorch at lower temperatures than cocoa solids do. That single fact explains most white chocolate failures I get called about.
When milk proteins burn, you get a grainy texture, a dull tone, and a faintly cooked, off flavor that carries straight into the finished piece. White is the hardest case of all, because it has no cocoa solids to buffer the heat. It punishes small mistakes fast.
So treat white and milk as the fragile end of the range. If a method risks nudging dark chocolate a few degrees too high, it will very likely ruin white. When in doubt, run cooler and slower with these two.
Melting Temperature vs Working Temperature
The temperature you melt to is not the temperature you work at. This is where a lot of people stumble when they move from home melting into real production.
Melting fully liquefies the chocolate and erases its crystal structure. Working — tempering, molding, enrobing — happens several degrees lower, where you rebuild stable crystals. Holding sits between the two: warm enough to stay fluid, cool enough to avoid slow damage over hours.
Melting hot is fine and necessary. The mistake I see most often is leaving the chocolate sitting at that same melt temperature all afternoon. Hours at full melt heat quietly degrade a batch long after the melting step is finished, and the operator never connects the two.
What Goes Wrong When Chocolate Is Melted Incorrectly?
Melting mistakes rarely announce themselves on the spot. They surface later — during tempering, at the mold, or on the shelf a week after the piece sold. Here’s what each failure actually does.
Overheating and Damaged Crystal Structure
Excess heat destroys any stable cocoa butter crystals and pushes the fat into an unstable state. On its own, that isn’t a problem, since you rebuild structure during tempering anyway.
The damage comes when overheating scorches the solids at the same time. Now you’re tempering compromised chocolate, and it sets soft, dull, or streaky and tends to bloom within days. Overheated white and milk chocolate often can’t be brought back at all.
Seizing from Moisture
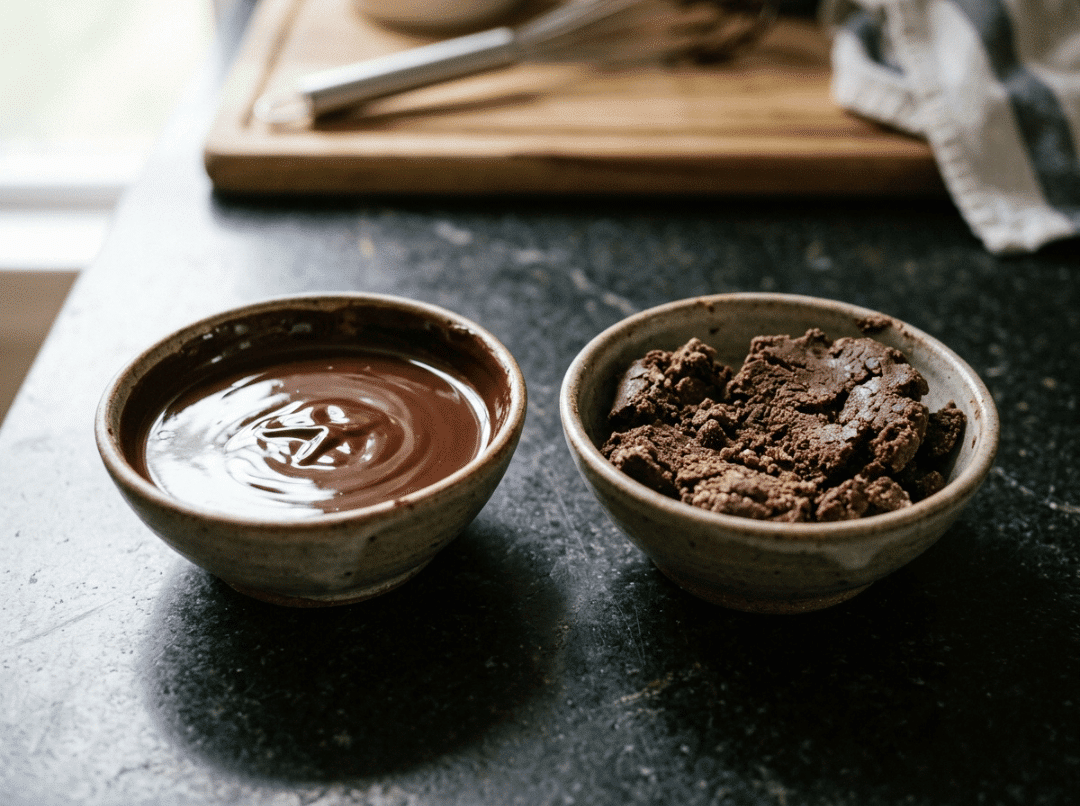
Chocolate and water don’t mix. A few drops are enough to bind the sugar into a paste, and the whole mass thickens and grips into a stiff, grainy lump almost instantly.
Steam counts as moisture, which is exactly why a double boiler carries real risk. A puff of steam under the bowl or a lid dripping condensation can seize a batch you spent an hour warming. Once it seizes, chocolate is hard to recover for anything precise.
Scorched Milk Solids
Push milk or white chocolate past its ceiling and the milk proteins burn. You’ll see a grainy, sandy texture and a darkened, patchy color, and you’ll taste a scorched note under the sweetness.
This one is final. Scorched solids can’t be un-burned, and the batch won’t blend back into a clean product. It goes in the bin.
Uneven Viscosity from Poor Heat Distribution
When heat reaches the chocolate unevenly, part of the mass overheats while another part stays solid. Microwaves and thin-walled containers are the usual culprits — the edges cook while the center is still firm.
The result is inconsistent flow. Chocolate that’s too thick in some spots and too thin in others fouls up molding, enrobing, and dosing, and it makes tempering unpredictable. Consistent viscosity starts with even melting, not with anything you do afterward.
What’s the Best Way to Melt Chocolate for My Scale?
The number of methods available doesn’t matter. What matters is which one fits your situation. Start with batch size and workflow, then choose the tool — not the other way around.
Home Use and Test Batches (0.2–2 kg)
For occasional melting and recipe testing, a double boiler or microwave does the job.
With a double boiler, keep the bowl 2–3 cm clear of the simmering water, never let it touch, and stir constantly. Dry every tool first. In a microwave, work in 15–30 second bursts, stir thoroughly after each one, and shorten the bursts as the chocolate nears full melt.
Both are fine for hobby use and testing. Neither gives you the repeatability or the stable holding temperature that daily production demands. That’s their honest limit, and there’s no technique that gets around it.
Pastry Kitchens and Small Shops (1–10 kg)
Once you’re melting the same chocolate most days, a chocolate melter starts to earn its cost. It holds a stable working temperature with little supervision, so you can actually work instead of babysitting a bowl.
A low-labor option for bulk pre-melting is an oven, or combi-steamer held around 40–45°C overnight. If you use a combi, disable the steam function completely, because added humidity will seize the batch. Airflow is often uneven, so this suits pre-melting, not precision holding.
Boutique Chocolate Production (5–20 kg)
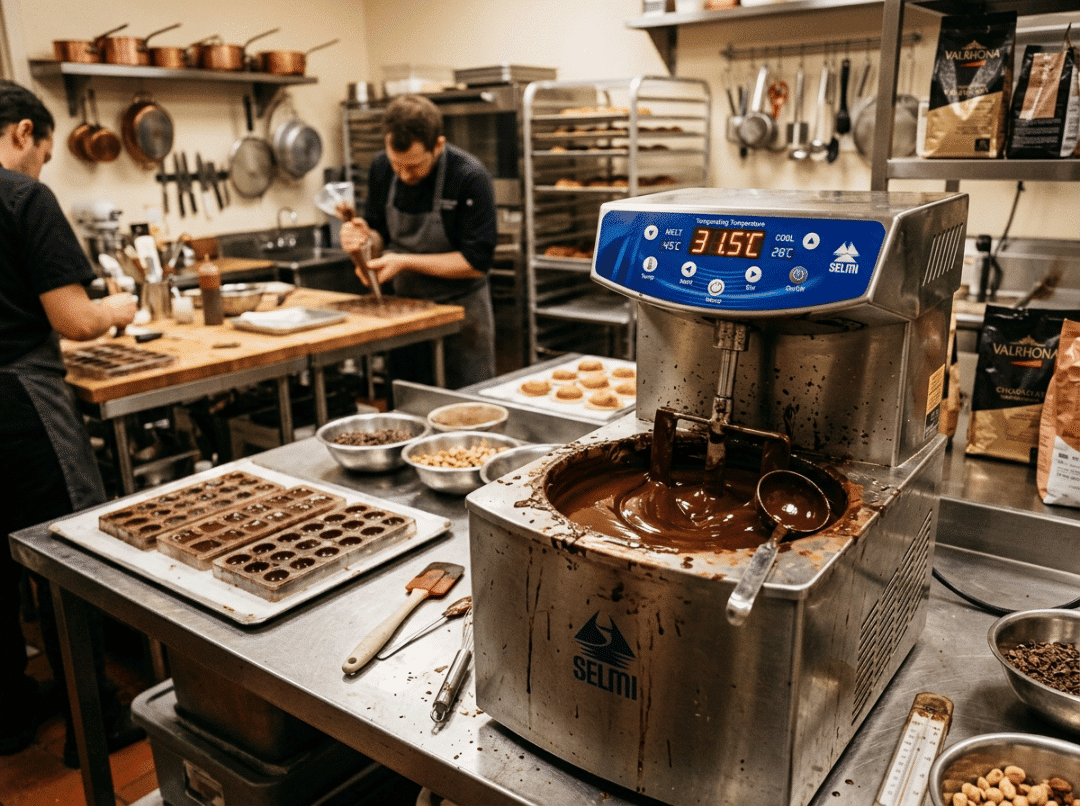
At this scale, tempering usually follows melting directly, so temperature precision stops being optional. A small fluctuation looks harmless on the readout, but across a working shift it ripples straight into tempering instability.
A professional melter with stable, distributed heating is the right call here. Tempering often depends on precision within a fraction of a degree, and you simply can’t hold that line with a bowl over water.
Larger-Scale and Continuous Production (100 kg+)
Big volumes call for water-jacket melting tanks that heat the mass indirectly. Indirect heating minimizes thermal shock and localized overheating across a large body of chocolate.
Continuous agitation keeps the temperature uniform throughout and stops cocoa butter from separating. Once melted, the chocolate feeds directly into tempering or depositing equipment. At this point the priority shifts from manual control to gentle, homogeneous heating at scale.
When Does a Chocolate Melter Actually Pay Off?
The upgrade makes sense at a predictable point. You’ve outgrown improvised methods once any of these becomes true:
- You melt the same product almost every day.
- You need a stable holding temperature for hours, not minutes.
- Melting feeds a tempering step that demands precision.
- Manual methods are costing you labor and scrapped batches.
A melter was never about melting faster — a microwave beats it there. Its job is melting gently and holding steady without someone standing over it. That reliability is what improvised methods can’t sustain once volume climbs, and it’s usually the first thing a growing shop realizes it needs.
Melting for Immediate Tempering vs Melting for Holding
These are two different jobs, and they ask different things of your equipment.
Melt-then-temper-now means you liquefy a batch and move straight into tempering. Short exposure, less risk from holding, more tolerance for a simple setup.
Melt-and-hold means the chocolate stays warm and fluid across a full shift while you draw from it as you go. That’s the harder job. It needs stable, low-fluctuation control, because hours at even a slightly-too-warm temperature slowly degrade milk solids and viscosity. Improvised methods can’t hold that line for long. A proper melter is built for exactly this.
How Do I Choose a Chocolate Melter?
Choosing a melter follows the same logic as any production equipment: match it to your real workflow, not to the biggest number on the spec sheet.
Melting Capacity vs Working Capacity
The most common spec mistake I see is treating melt capacity as working capacity. A tank rated to melt 20 kg is not a tank you comfortably hold and draw 20 kg from all day.
Size to your realistic daily output, not the peak figure. An oversized tank held half-empty wastes energy and heats unevenly, while a right-sized one holds temperature far more predictably. More producers over-buy on this than under-buy.
Heating Design and Hot-Spot Control
How the heat reaches the chocolate matters as much as how much of it there is. Single-source bottom heating tends to scorch the lowest layer while the top lags behind.
Distributed heating, with elements beneath the tank and along the side walls, spreads warmth more evenly and cuts localized overheating. For milk and white chocolate especially, that even distribution is the line between a clean melt and a scorched one.
Temperature Stability and Control Precision
When tempering follows within fractions of a degree, fluctuation is the enemy. Look for control that holds temperature with minimal drift.
A digital controller and an insulated tank are the practical requirements. Insulation dampens the swings that come from ambient temperature changes in the room, and a good controller keeps the setpoint steady through a long shift.
Tank Material, Cleaning, and Food Safety
Food-grade stainless steel is the standard for solid reasons. It resists corrosion, cleans easily, meets food-safety requirements, and transfers heat consistently. Fast, thorough changeovers between products also keep flavors and colors from carrying across batches — something that matters far more in daily use than most buyers expect before they’ve lived with a machine.
Features Worth Paying For
Extra features earn their price only when your workflow actually uses them:
- Mixers or agitators: essential for holding large volumes evenly, unnecessary for small manual batches.
- Drainage taps: speed up decanting and cleaning at higher volumes.
- Programmable settings: useful for repeatable daily routines.
- Wheels or mobility: matter only if you move the unit around a working kitchen.
Buy for the scenario you’re in, not the one you imagine you’ll grow into. Over-specifying is a common and expensive habit.
Common Chocolate Melting Mistakes
Most ruined batches trace back to the same handful of errors. Each one below comes with the reason it hurts and the fix.
Letting water or steam reach the chocolate. Moisture seizes chocolate, and steam counts. Keep every bowl, spatula, and tool bone-dry, route steam away, and never cover a warm batch with a lid that can drip condensation back in.
Melting faster than the chocolate allows. Rushing the heat causes scorching and hot spots, especially with milk and white. High heat cooks the outside before the center melts. Low and slow wins every time.
Skipping continuous stirring. Without stirring, heat pools and burns the chocolate in one spot while the rest stays solid. This is the top cause of microwave and double-boiler failures. Stir throughout to redistribute the heat.
Holding at the wrong temperature. Melting correctly is only half the job. Holding too hot across a shift still degrades milk solids and thickens viscosity, one slow hour at a time. Bring the batch down to a proper holding temperature and keep it there.
Melting more than the workflow needs. Overfilling and repeatedly reheating leftover chocolate wears down its quality. Each reheat cycle is another chance to scorch or thicken it. Melt what you’ll use.
Using a tempering machine only to melt. You can, but it’s inefficient — expensive equipment doing a job a simpler melter does better. A tempering machine earns its keep with continuous tempering, high throughput, or automated dosing, not simple liquefaction.
Frequently Asked Questions
What is the best temperature to melt chocolate?
Dark chocolate melts at 45–50°C, milk at 40–45°C, and white at 38–42°C. White and milk are the least heat-tolerant because their milk solids and sugar scorch at lower temperatures than cocoa solids.
How do you melt chocolate without it seizing?
Keep all moisture and steam away, since even a few drops cause seizing. Use dry tools, avoid direct contact with simmering water, and stir gently throughout the melt.
Why does my chocolate get thick and grainy when melting?
Usually overheating or moisture contamination. Scorched milk solids and seizing both raise viscosity and grain the texture, and neither can be fully reversed once it happens.
How long does it take to melt chocolate?
Anywhere from a few minutes in a microwave to 1–4 hours in a professional melter. Batch size, chocolate type, and equipment all change the timing.
Do I need a chocolate melter, or is a double boiler enough?
A double boiler is fine for home use and test batches. A melter earns its place once you melt the same product daily, need a stable holding temperature, or feed a tempering step.
Can you melt chocolate in a tempering machine?
Yes, but using one only to melt is inefficient. Tempering machines pay off when you need continuous tempering, high throughput, or automated dosing, not simple liquefaction.
What temperature should melted chocolate be held at?
Below the melting ceiling and steady. Holding too hot over a shift still degrades milk solids and viscosity, which is why stable, low-fluctuation control matters.
Getting Melting Right
Correct melting follows one clear path. Chocolate type sets your temperature ceiling. Batch size and workflow decide the method. The tempering step that follows determines how precise your control has to be. Get that path right and you protect everything downstream — gloss, snap, shelf life, and a temper that holds.
If you’re moving past a bowl over water, the smartest move is to size your equipment to your real daily output rather than a peak number you’ll rarely touch. Take a look at our chocolate melter range to match a capacity to your workflow, and if you want a second opinion on sizing, message us with your daily volume and the chocolate you run — we’ll help you land on the right unit instead of over- or under-buying.